[Windows] Hexo Blog 搭建紀錄
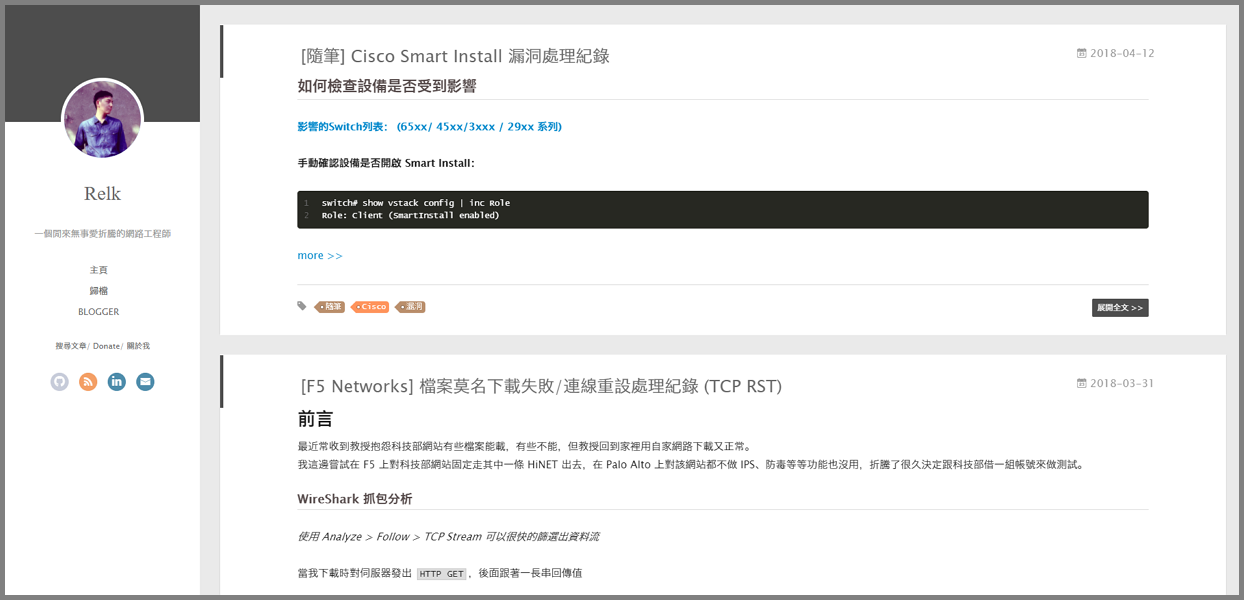
預覽
環境配置
1. 安裝 Git
2. 安裝 node.js
3. 建立 Github Repo
可以參考之前安裝 Octopress Blog 的紀錄
[Ubuntu] 使用 Github 架設 Octopress Blog
Hexo 初始安裝
1. 打開 cmd,cd 到你要放置 hexo 資料夾的目錄。
1 | D:\> npm install hexo -g |
2. 配置 _config.yml
可以參考 這篇官方說明,以下是我的配置
1 | # Hexo Configuration |
3. 安裝主題
我這邊選擇了 yilia 作為我的主題。
1 | D:\blog> git clone https://github.com/litten/hexo-theme-yilia.git themes/yilia |
- 編輯根目錄底下的
_config.yml,將主題修改成 yiliatheme: yilia - 編輯
themes/yilia底下的_config.yml,以下是我的配置:1
2
3
4
5
6
7
8
9
10
11
12
13
14
15
16
17
18
19
20
21
22
23
24
25
26
27
28
29
30
31
32
33
34
35
36
37
38
39
40
41
42
43
44
45
46
47
48
49
50
51
52
53
54
55
56
57
58
59
60
61
62
63
64
65
66
67
68
69
70
71
72
73
74
75
76
77
78
79
80
81
82
83
84
85
86
87
88
89
90
91
92
93
94
95
96
97
98
99
100
101
102
103
104
105
106
107
108
109
110
111
112
113
114
115
116
117
118
119
120
121
122
123
124
125
126
127
128
129
130
131
132
133
134# Header
menu:
主頁: /
歸檔: /archives/index.html
Blogger: https://downager.blogspot.tw
# SubNav
subnav:
github: "https://github.com/Downager"
#weibo: "#"
rss: "/atom.xml"
#zhihu: "#"
#qq: "#"
#weixin: "#"
#jianshu: "#"
#douban: "#"
#segmentfault: "#"
#bilibili: "#"
#acfun: "#"
#facebook: "#"
#google: "#"
#twitter: "#"
linkedin: "https://www.linkedin.com/in/relk-li/"
mail: "mailto:[email protected]"
rss: /atom.xml
# 是否需要修改 root 路径
# 如果您的网站存放在子目录中,例如 http://yoursite.com/blog,
# 请将您的 url 设为 http://yoursite.com/blog 并把 root 设为 /blog/。
root: /
# Content
# 文章太长,截断按钮文字
excerpt_link: more
# 文章卡片右下角常驻链接,不需要请设置为false
show_all_link: '展開全文'
# 数学公式
mathjax: false
# 是否在新窗口打开链接
open_in_new: false
# 打赏
# 打赏type设定:0-关闭打赏; 1-文章对应的md文件里有reward:true属性,才有打赏; 2-所有文章均有打赏
reward_type: 0
# 打赏wording
reward_wording: 'Ethereum: 0xaed9ef1a2c584b0a390727fcd4d99f7d9863e13c'
# 支付宝二维码图片地址,跟你设置头像的方式一样。比如:/assets/img/alipay.jpg
#alipay:
# 微信二维码图片地址
#weixin:
# Ethereum Address
#Ethereum: 0xaed9ef1a2c584b0a390727fcd4d99f7d9863e13c
# 目录
# 目录设定:0-不显示目录; 1-文章对应的md文件里有toc:true属性,才有目录; 2-所有文章均显示目录
toc: 0
# 根据自己的习惯来设置,如果你的目录标题习惯有标号,置为true即可隐藏hexo重复的序号;否则置为false
toc_hide_index: true
# 目录为空时的提示
toc_empty_wording: '目录,不存在的…'
# 是否有快速回到顶部的按钮
top: true
# Miscellaneous
#baidu_analytics: ''
google_analytics: 'UA-********-*'
favicon: /assets/img/favicon.png
#你的头像url
avatar: /assets/img/avatar.jpg
#是否开启分享
share_jia: false
#评论:1、多说;2、网易云跟帖;3、畅言;4、Disqus;5、Gitment
#不需要使用某项,直接设置值为false,或注释掉
#具体请参考wiki:https://github.com/litten/hexo-theme-yilia/wiki/
#1、多说
duoshuo: false
#2、网易云跟帖
wangyiyun: false
#3、畅言
changyan_appid: false
changyan_conf: false
#4、Disqus 在hexo根目录的config里也有disqus_shortname字段,优先使用yilia的
disqus: downager #Shortname
#5、Gitment
gitment_owner: false #你的 GitHub ID
gitment_repo: '' #存储评论的 repo
gitment_oauth:
client_id: '' #client ID
client_secret: '' #client secret
# 样式定制 - 一般不需要修改,除非有很强的定制欲望…
style:
# 头像上面的背景颜色
header: '#4d4d4d'
# 右滑板块背景
slider: 'linear-gradient(200deg,#a0cfe4,#e8c37e)'
# slider的设置
slider:
# 是否默认展开tags板块
showTags: true
# 智能菜单
# 如不需要,将该对应项置为false
# 比如
#smart_menu:
# friends: false
smart_menu:
innerArchive: '搜尋文章'
friends: 'Donate'
aboutme: '關於我'
friends:
Ethereum Wallet: https://etherscan.io/address/0xaed9ef1a2c584b0a390727fcd4d99f7d9863e13c
# 友情链接2: http://localhost:4000/
# 友情链接3: http://localhost:4000/
# 友情链接4: http://localhost:4000/
# 友情链接5: http://localhost:4000/
# 友情链接6: http://localhost:4000/
aboutme: 這裡是 Relk 的工作手札 <br> 基本存放隨手寫的筆記 <br> 原 Blogger 於 2013-03-24 建立 <br> 2017-05-28 利用 Octopress 重新構建 Blog <br> 並託管在 Github 上。<br> 2018-03-02 覺得 Octopress 太難維護 <br> 又用 Hexo 重搭了一個,維護 Blog 好難 QQ <br><br> 目前文章搬家中...
4. 安裝 RSS、Sitemap、hexo-asset-image 插件
1 | D:\blog> npm install hexo-asset-image |
之後重新部屬 Blog,會發現 /atom.xml 和 /sitemap.xml 都已經產生完畢了。
hexo-asset-image 插件可以讓你用 {% asset_img logo.jpg logo %} 語法插入圖片